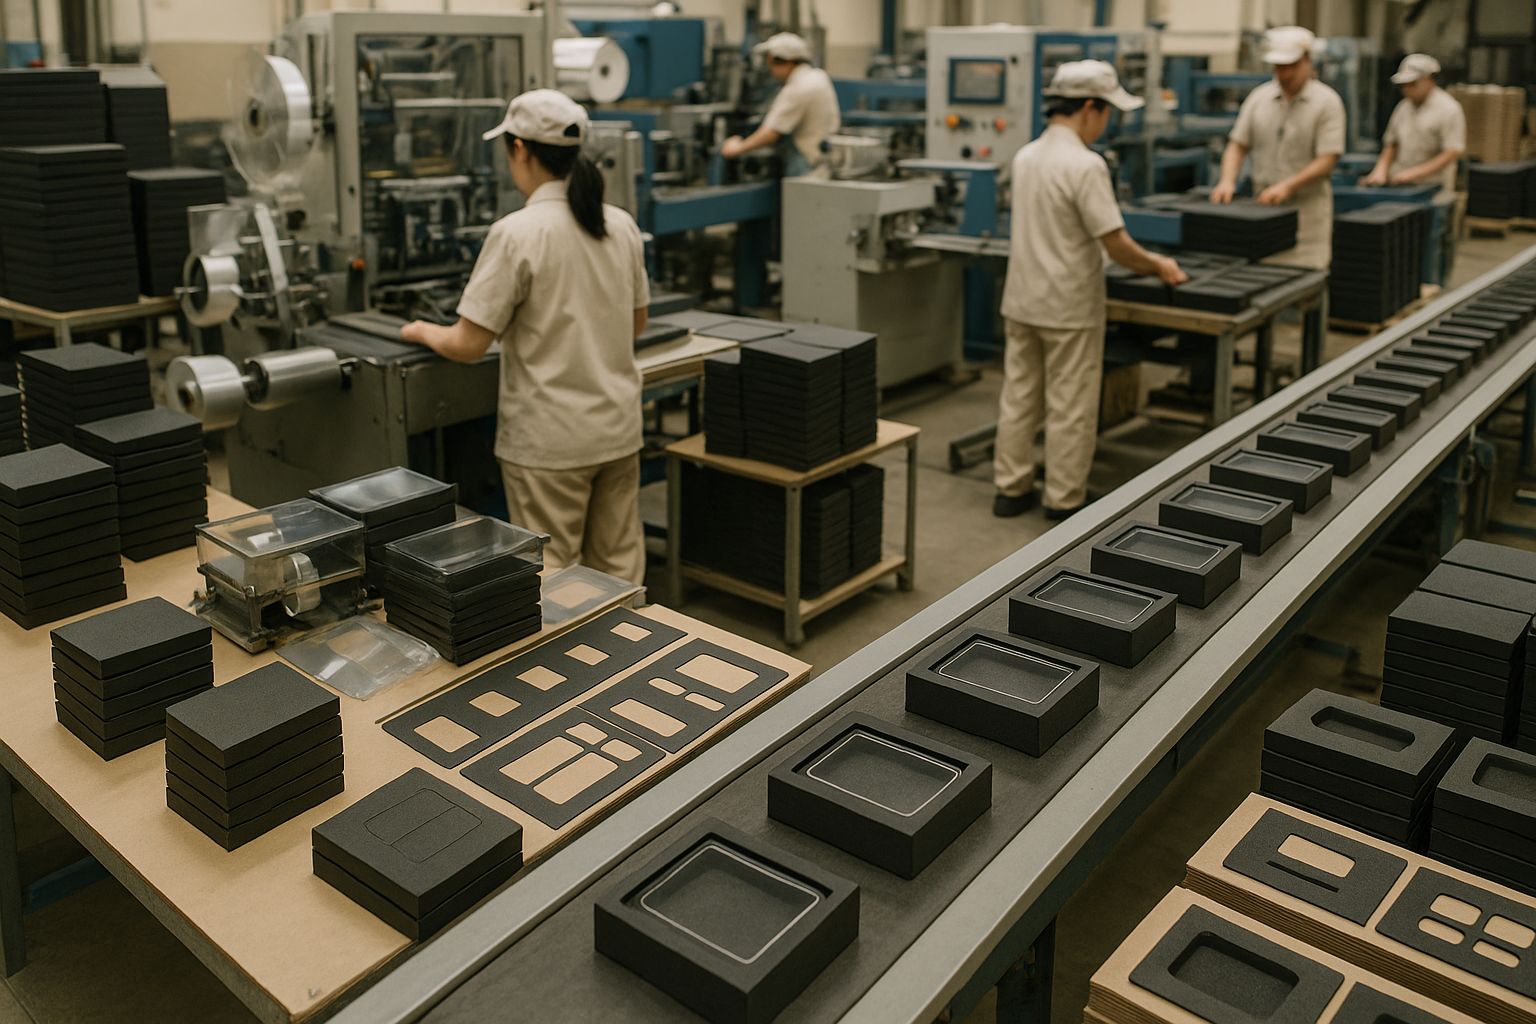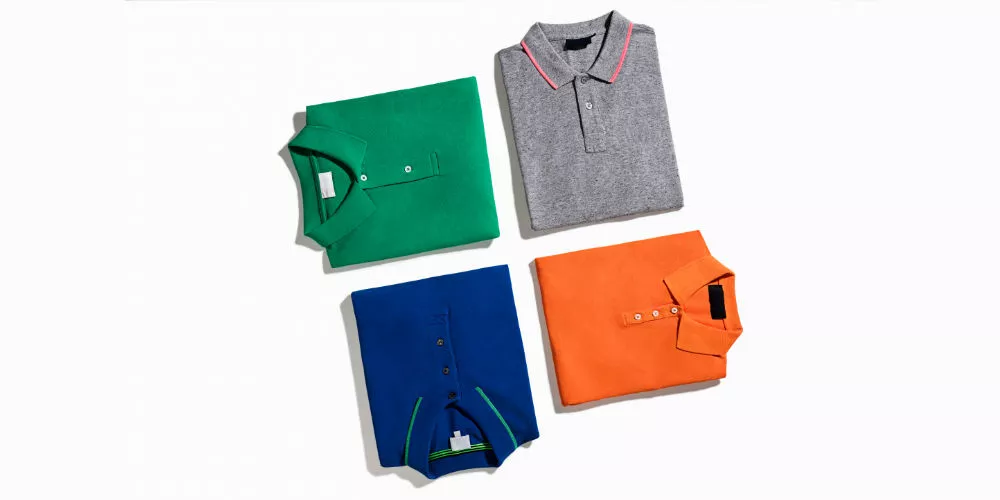
Before mass production takes place, there are pre-production processes you need to go through simply to make sure your product is ready for production. You don’t want to move forward half-ready and end up with a final product you are not satisfied with. The clothing sample process is very critical to manufacturing which is why we came up with the garment pre-production package to provide support to beginners and startup clothing lines in need of professional assistance.
Making a sample is crucial for custom clothing manufacturing because you can only really check the design this way. It is important for you to double check the sizing and dimensions as well as the fabric. Accessories, colors or other details are not as important here, since they can still be adapted for mass production. Here is a simple breakdown of the clothing sample process and how it works in general:
Pre-Production Package: Step by Step Process
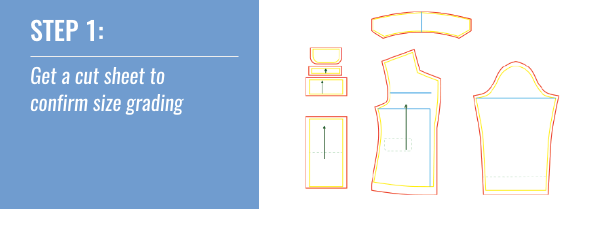
1. Get a cut sheet to confirm the grading
A cut sheet is a pre-production file where all of the dimensions and measurements for a certain product are noted. We need to secure this as our initial step of the pre-production process to confirm the grading or dimensions and measurements for all the other sizes.
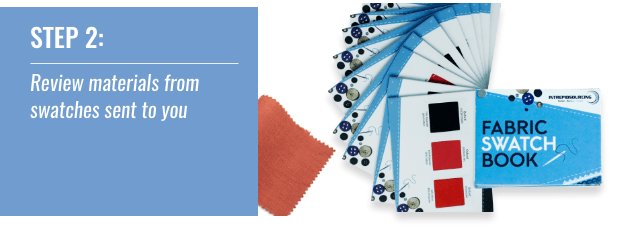
2. Review materials from swatches sent to you
Based on fabric swatches sent to you, you have to confirm the clothing material for your clothing project. It’s important to check cause a fabric might be different from what you would expect.

3. Create costing for the sample
With the materials and cut sheet finalized, we can now calculate the costs you need to prepare for your first prototype product sample and eventually proceed with product sampling.
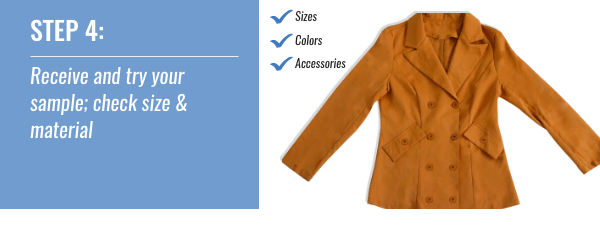
4. Check your product sample
Once you receive your product sample, check the outcome if it came out as designed in your tech pack. Make sure to check the size and materials wherein they are the same as you have approved beforehand. If you have any complaints or if you feel like there are edits and modifications that need to be made, feel free to comment them on the tech pack to be noted.
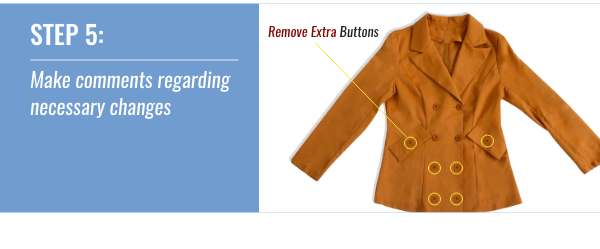
5. Recalculate final costing
Since there are expected changes to the product sample, we now have to recalculate for product costing and finalize the costs you are going to spend for production.
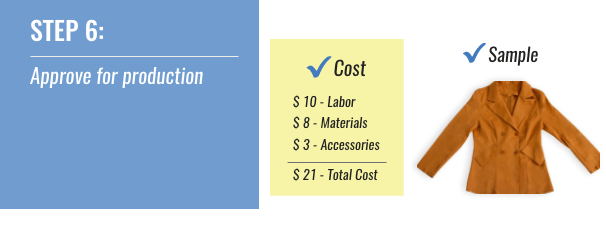
6. Approve for production!
Once final costing is ready along with the edited tech pack, you are done with the clothing sample process and the project can now be forwarded to the production line for mass production. You can choose to redo the sampling process for assurance but that can be a waste of money and resources. Given you are working with professional clothing manufacturers, it can be assured your final notes on the tech pack are all considered for your final product.