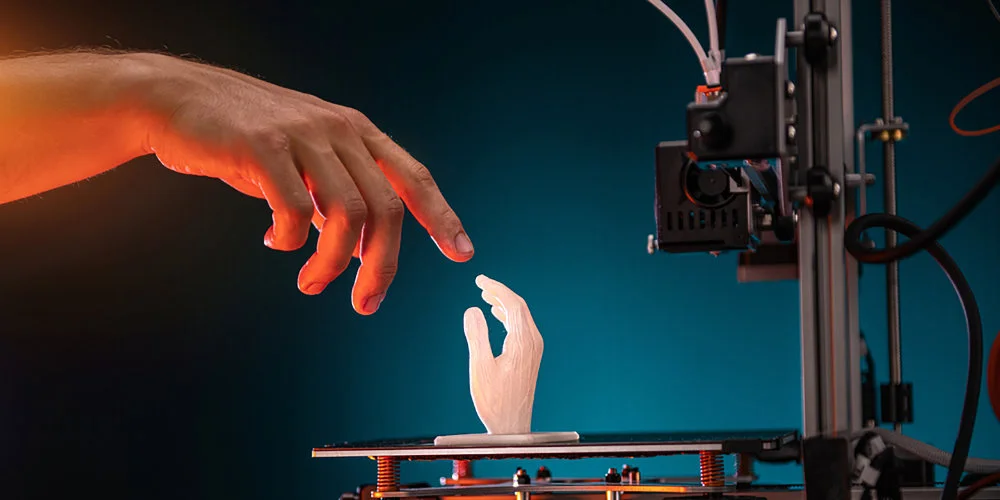
3D printing technology provides a one-of-a-kind combination of design freedom and reproducibility. In the span of a few hours, you can come up with your own unique 3D model and turn it into a physical object, without the use of expensive molds and heavy-duty machining tools. Many plastic manufacturing companies have incorporated 3D printing into their services. However, not all 3D models translate well to 3D printed objects. Some can be harder to pull off than others. If you are designing your own models for 3D printing, there are a few factors you will need to consider. To help you plan, here are some great design tips for 3D printing.
45 Degree Rule
If you’re designing your own model, you can make some deliberate decisions to minimize the need for support. The 45-degree rule is one that’s easy to follow and remember–any tilt that goes beyond 45 degrees will require a support structure to support its weight. If necessary, you can also add a chamfer, which is a broad slant divided into 45-degree sections. Pushing even the 45-degree limit would push the limits of the filament material’s strength, so we suggest keeping all orientations as close as 30 degrees only.
The Thickness of Wall
The other design tips for 3D printing to keep in mind are the wall thickness. Each 3D printing process can produce precise features that are thin to a certain point. For example, imagine that you are an engineer who designs hang gliders for a living. You’ve come up with a great, new design that you’ve decided to make a prototype via 3D print to test. 3D modeling programs allow you to model a wing’s sailcloth, but you’ll run into problems when you try to 3D print it because its thickness will be too small.
Adding Anchors
While we are on the topic of reducing support, one of the more creative ways to design a plastic part is to integrate support into your design. There’s no one way to do this–it really depends on how creative you are. This is not a new concept. Based on studies of ancient sculptures, sculptors have often used ‘hidden’ supports so that their works – usually made of very heavy metals or marble – do not collapse under their own weight.
Printer’s Limit
The diameter of your printer’s nozzle determines thread width. Most printers have a 0.4mm or 0.5mm nozzle. In practice, this means that a circle drawn by a 3D printer is always two thread widths deep: 0.8mm thick for a 0.5mm nozzle with a 0.4mm nozzle that is 1mm thick. The rule of thumb is “the smallest feature you can make is twice the width of the thread.”

Nozzle Diameter
This can vary with different filament materials and nozzle diameters, so it is well worth the time and effort to find the limits of your printer and filament or resin. The worst thing that can happen to a bridge is that it completely collapses under its own weight. If it does, you will almost certainly need to add support. Even if you do manage to pull it, a bridge will almost always drop to a certain degree.
Orient Based Resolution
3D prints created using FDM technology naturally come with visible layer lines. This is an inherent consequence of FDM printers’ reliance on relatively wide nozzles. However, the resolution along the z-axis can be controlled to some extent by setting the thickness of these layers. However, the resolution on the x-axis and y-axis is determined by the size of the nozzle.
Split Model into Multiple Parts
It may also be beneficial to split the model into multiple parts if you want to avoid having too many support structures on your print. For example, dividing the model into two or three parts and orienting them in different directions may mean that each part will have fewer overhanging characteristics. It is only worth the effort to avoid the hassle and extra filament that supports demanding structures.
Orient for Stress
To prevent prints from breaking when force is applied; Be sure to orient your model to reduce stress on the part by orienting the model so that the print lines are perpendicular to the point of pressure being applied. The same principle applies to ABS, which is used to print larger models, which may split along the z-axis when it cools on the build platform during printing.
Warping
Add mouse ears to your model warping is one of the biggest problems a 3D printing professional can face. This is especially true when printing with high-temperature filaments such as ABS or nylon. From changing temperature settings to applying adhesives to the print bed, it takes a significant amount of effort to solve the warping problem. Fortunately, you can take steps in the design process to address the problem of warfare.