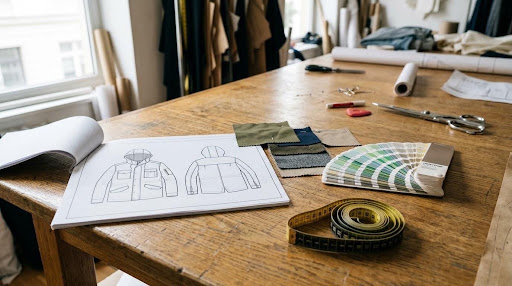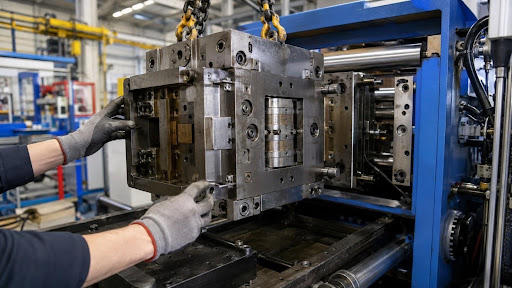

When designing plastic parts for injection molding, decisions made in the first hours of design determine what the tooling costs, how the part performs, and whether it can be made at all. Foresight at that stage saves months later, because it means the design already respects the limitations the manufacturer works within. The ten considerations below are not exhaustive, but designing plastic parts around them will get a design close to production-ready and will keep the conversation with a factory about improvements rather than about rescues.
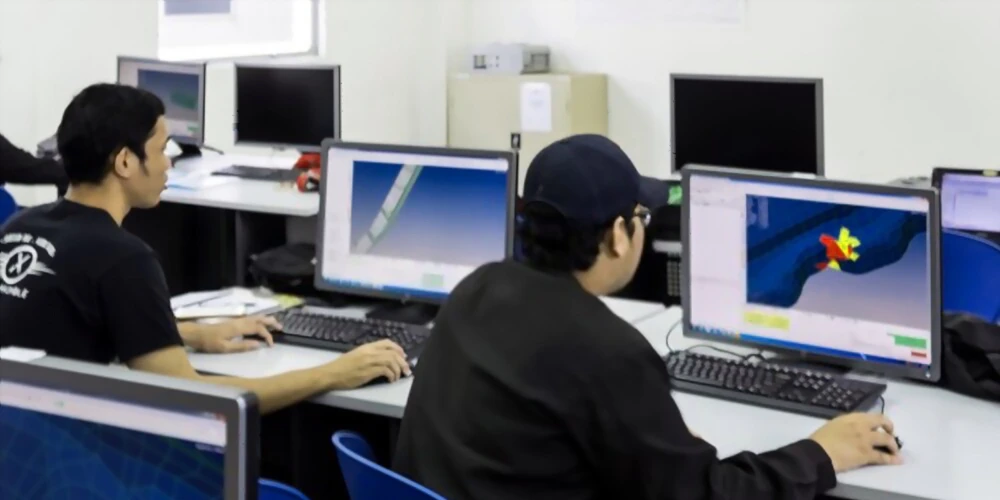
1. The Right Kind of Surface Finish
When designing plastic parts, surface finish does more than look good, and it has to be decided early because it determines the mold. Choose the mold material first, based on production volume: aluminium tooling is cheaper and faster for low volumes, steel is tougher and lasts for millions of cycles. Steel can be polished to a mirror finish and holds textures precisely, which aluminium cannot match.
Finishes are specified to SPI standards from A-1, a high polish, to D-3, a coarse texture, and the choice affects both mold cost and how the part releases: a polished surface can make ejection harder, while a light texture helps. If the part will be painted, plated, or bonded afterward, the finish has to suit that process too.
2. Designing Plastic Parts to Avoid Undercuts
An undercut is any feature that prevents the part from being pulled straight out of the mold: a side hole, a snap hook, a lip, a thread. Undercuts do not make a part harder to mold, they make it harder to de-mold, and they are solved with side actions, lifters, or collapsible cores, each of which adds cost to the tool and time to the cycle. Sometimes an undercut is essential to how the part works. Often it is not, and a small redesign, moving a hole, adding a through-slot so the feature can be formed by the main cores, removes it. When designing plastic parts, every undercut is worth questioning against the tooling cost it adds.
3. Uniform Wall Thickness When Designing Plastic Parts
Injection molding forces molten resin into a cavity, and it flows most predictably when the walls are of constant thickness. Any change in thickness changes the flow, and the consequences are sink marks, voids, warping, and internal stress. The rule when designing plastic parts is to keep walls uniform, typically 1 to 3 millimetres depending on the resin and part size, and where a change is unavoidable, to transition gradually rather than in a step. Thicker is not stronger: a thick wall cools unevenly, shrinks more, and warps.
4. Datums Define the Part
Datums are the reference surfaces and features from which every dimension on the drawing is measured. Setting them consistently, and choosing surfaces that the mold actually controls, means the factory measures the part the same way the designer intended. Without clear datums, a part can be within tolerance on the drawing and wrong in the assembly, and the argument that follows is expensive. Geometric dimensioning and tolerancing on the drawing, applied to the features that matter functionally, is what prevents it.
5. Flow from Thick to Thin
Resin should enter the mold at the thickest section and flow toward thinner ones. Filling a thin section first and then a thick one leaves the thick section to be fed through a passage that has already frozen, which produces short shots, voids, and sink marks. When designing plastic parts, think about where the gate will be and how the material will travel from it, and design the thickness gradient to follow that path. A mold-flow simulation before tooling is cut will confirm it and is worth the cost on any part with complex geometry.
6. Warpage and Shrinkage
Every part shrinks: all thermoplastics shrink as they cool, typically 0.5% to 2.5% depending on the resin, and semi-crystalline resins such as polypropylene and nylon shrink more than amorphous ones such as ABS and polycarbonate. Shrinkage is predictable and the mold is cut oversized to compensate. Warpage is shrinkage that happens unevenly, from non-uniform walls, uneven cooling, or fibre orientation in filled resins, and it is not so easily compensated. Uniform walls, generous radii, balanced cooling, and, where necessary, ribbing to stiffen large flat areas are the defences.
7. Structural Support: Ribs and Bosses
When designing plastic parts, because thick walls cause problems, stiffness is added with ribs rather than material. A rib should be 40% to 60% of the thickness of the wall it supports, no more, or it will cause a sink mark on the opposite face; it should have draft, and a radius where it meets the wall. Bosses, the raised cylinders that take screws, follow the same logic: a boss attached directly to a wall creates a thick section, so it is usually connected by ribs and cored out to keep the wall thin. Getting ribs and bosses right is most of what separates a part that looks moulded well from one that does not.
8. Draft
Draft is the taper on vertical surfaces that lets a part release from the mold. Without it, the part grips the core as it shrinks and either sticks or scuffs on ejection. One degree per side is a common minimum for smooth surfaces, and textured surfaces need more, typically one additional degree for every 0.025 millimetres of texture depth. Draft costs nothing at the design stage and is expensive to add after tooling is cut, so when designing plastic parts it should be applied from the first CAD model rather than added later.
9. Designing Plastic Parts for Rapid Prototyping
Prototype before tooling. 3D printing produces a part in days for form and fit checks, CNC machining produces one in a production-grade material for functional testing, and soft aluminium tooling produces a few hundred parts in the real process and resin. Each step catches different problems: printing catches geometry and ergonomics, machining catches mechanical performance, soft tooling catches molding issues such as sink, warp, and fill. Skipping straight from CAD to steel tooling is how expensive tooling changes happen. The prototyping service covers the first two stages.
10. Gating and Ejection
The last of the ten rules for designing plastic parts concerns the tool: gate location decides how the part fills, where the weld lines fall, where stress concentrates, and where a visible mark is left. Ejector pins leave their own marks and must push on features strong enough to take the force. Both are the toolmaker’s decisions.
However, they constrain the design, and discussing them with the factory before tooling is cut lets the designer choose where the cosmetic compromises land rather than discovering them on the first samples. A part designed without any thought for gating and ejection will be modified by the toolmaker anyway, and not necessarily where the designer would have chosen.
Designing Plastic Parts That Can Actually Be Made
These ten points come down to one principle: designing plastic parts is designing the mold as much as the part. Wall thickness, draft, ribs, undercuts, and gating are all decisions about how molten plastic will fill a steel cavity and how the result will come out of it, and a design that respects them costs less to tool, molds more reliably, and reaches production faster. The resin choice interacts with all of them, which is covered in the article on plastic resins for injection molding, and the wider process in the plastics manufacturing process guide.
If you would rather have the design reviewed for manufacturability before tooling money is committed, that is exactly what our plastic design and CAD service does, and it feeds directly into injection molding production with a factory that has made comparable parts before.